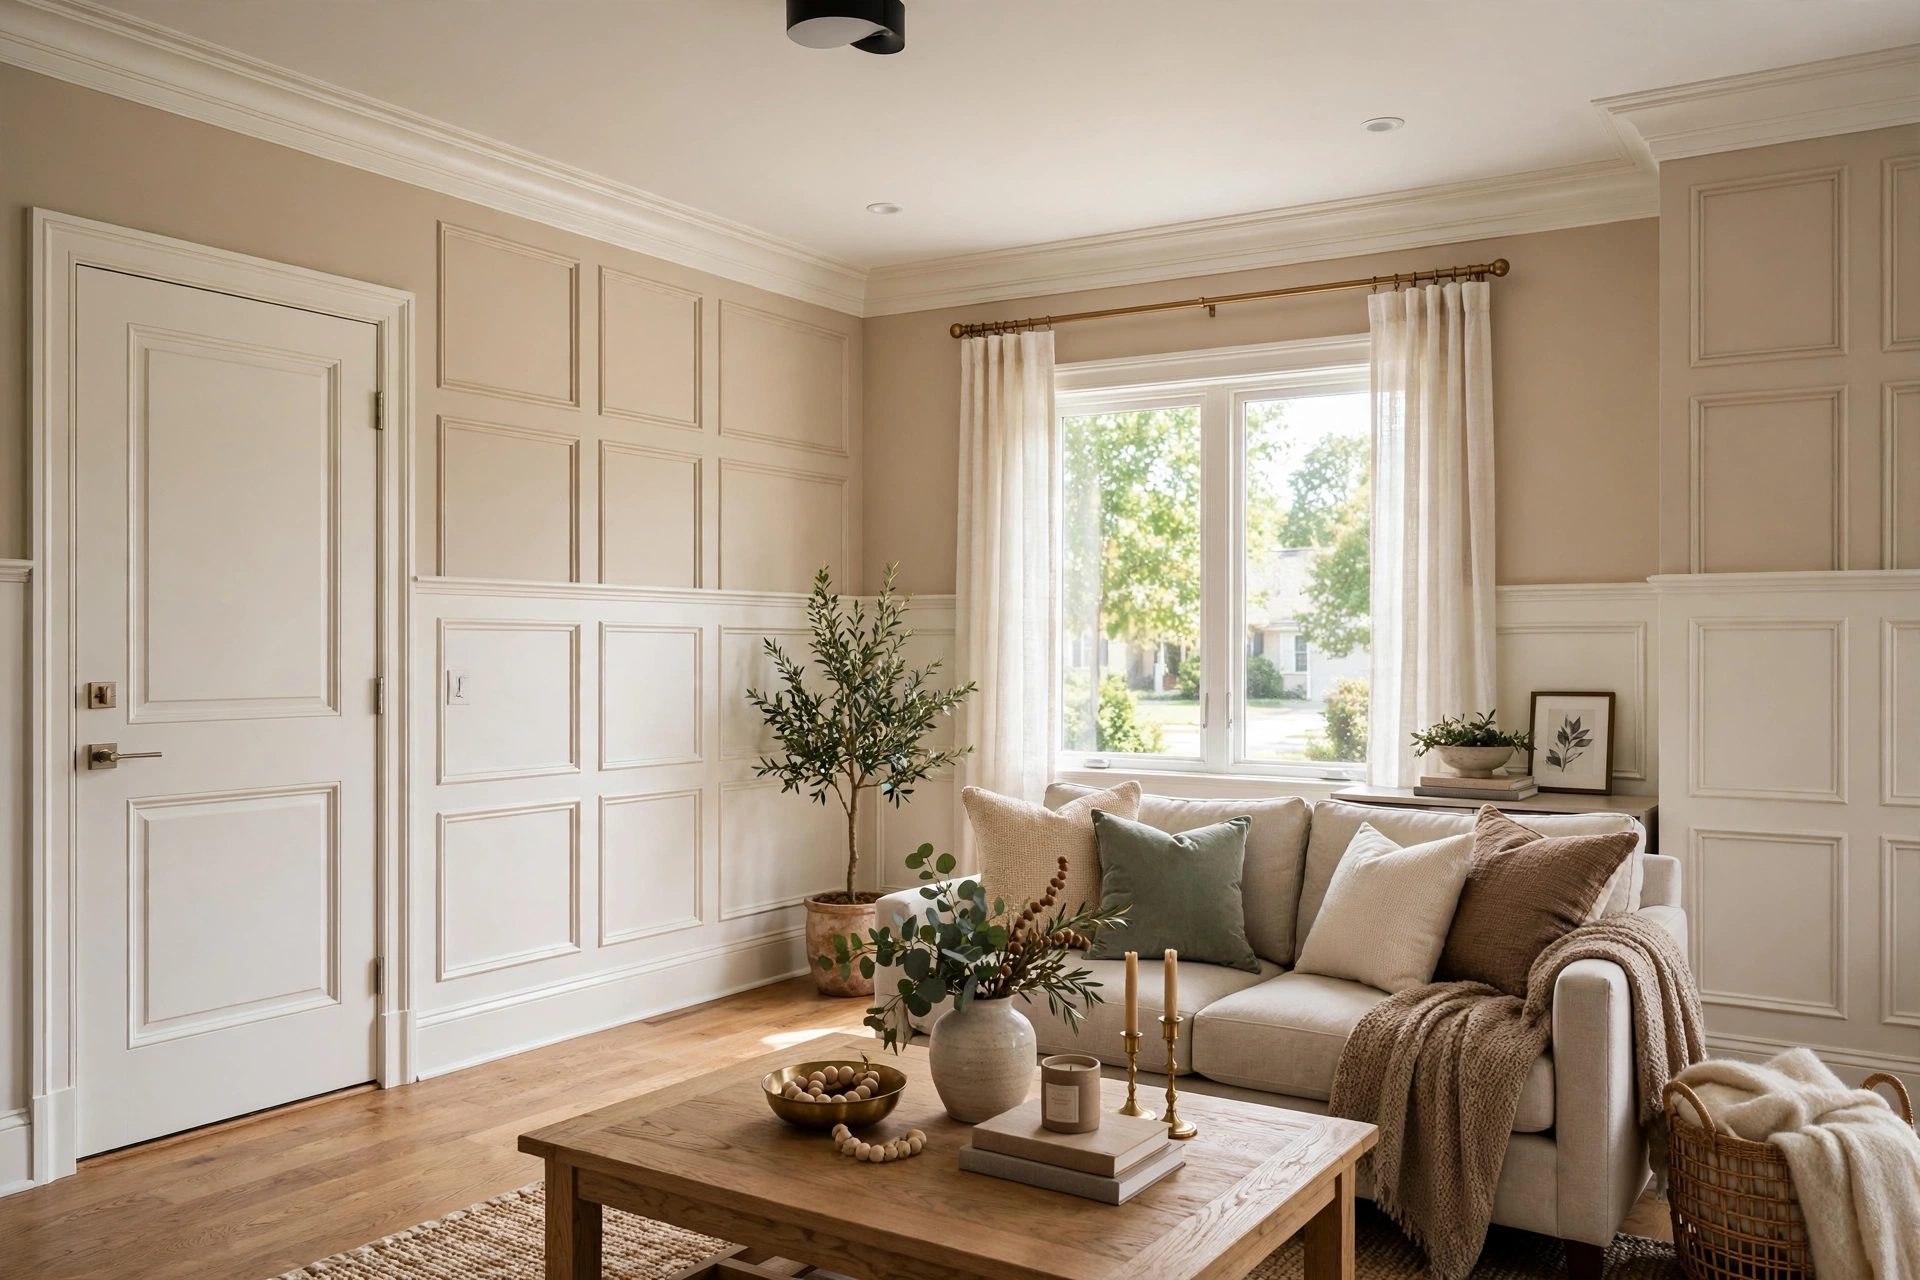
Architectural wall molding designs — picture frame molding, board and batten, beadboard, panel wainscoting, and full-height geometric layouts — are one of the fastest, most affordable ways to give plain builder-grade interiors real character. Applied directly to drywall with basic trim stock, construction adhesive, and a brad nailer, they add shadow lines and proportion for roughly $1 to $6 per linear foot in materials. Most single-wall projects are realistic weekend DIY jobs.
Builder-grade interiors are not badly built — they are simply unfinished from a design standpoint. Flat drywall, minimal baseboards, and plain casings are cost decisions, not style decisions. Wall molding is one of the few upgrades that becomes part of the architecture itself, giving the eye lines to follow and making a room feel planned rather than empty. This guide covers the main molding families, proportion rules, materials, a full installation walkthrough, costs, and the mistakes that separate crisp results from crooked ones.
What Wall Molding Actually Does in a Room
Three effects do most of the work: shadow and depth (even a half-inch profile casts a shifting shadow line so walls feel dimensional), proportion and rhythm (a measured grid that tells the eye where to rest), and finish (baseboards, crown, and casing cover drywall joints, hiding imperfections nearly impossible to finish perfectly).
The Main Architectural Wall Molding Families
Picture Frame Molding (Box Trim)
Thin strips applied to the wall in rectangles, like empty picture frames. Purely decorative, suited to almost any room, and the easiest first project: four mitered pieces per frame, attached flat to drywall, then caulked and painted. Because it adds no real thickness, it works in small rooms and apartments. Painted the wall color it reads as subtle texture; in contrast, a bold statement.
Board and Batten
Vertical battens spaced evenly over flat boards or the wall itself, creating strong vertical lines and deep shadow. It suits walls that take bumps — mudrooms, entryways, hallways — and its vertical emphasis makes 8-foot ceilings feel taller. Slightly more work than picture frame molding, since every batten must be plumb and evenly spaced.
Beadboard
Narrow vertical boards with a small groove between each plank, bringing a casual cottage or farmhouse feel. A classic for bathrooms, laundry rooms, and breakfast nooks, floor-to-ceiling or as wainscoting. In wet rooms, choose PVC or vinyl beadboard — standard MDF and wood swell with moisture.
Raised Panel and Flat Panel Wainscoting
Traditional wainscoting covers the lower third of the wall, topped with a chair rail at 30 to 36 inches. Raised-panel designs are the most formal, ideal for dining rooms; flat-panel (Shaker-style) frames suit transitional and contemporary interiors. Both protect high-traffic walls from scuffs while adding instant proportion.
Full-Height Panels and Slat Walls
Large frames extending two-thirds up the wall or floor-to-ceiling create a tailored look on big blank walls — but layout precision matters, since any deviation from level shows. Slat walls use narrow vertical strips for a rhythmic, contemporary texture where the shadow lines are the design.
Crown Molding and Baseboard
Crown sits where wall meets ceiling; baseboard runs along the floor. Both multiply the effect of any wall design, and upgrading builder-grade 3-inch baseboards to 5- or 7-inch profiles is one of the highest-impact, lowest-effort changes you can make.
Choosing the Right Design for Your Rooms
- Match scale to ceiling height. On 8-foot walls, keep wainscoting between 32 and 42 inches and picture frames 24 to 36 inches tall. With 9- or 10-foot ceilings, go taller with wider, more elaborate profiles.
- Respect the room’s size. Small rooms favor shallow, simple designs — picture frame molding painted the wall color. Large rooms can carry board and batten, full-height panels, or layered combinations.
- Consider traffic. Hallways, mudrooms, and kids’ rooms benefit from the physical protection of board and batten or beadboard; formal rooms suit picture frame or raised-panel designs.
- Keep one dominant design per sightline. Two molding styles fighting across an open plan look busy. Pick one family for connected rooms and vary it with paint color.
- Plan around doors, windows, and outlets. Frames that clip a light switch or terminate mid-trim look like mistakes — shift spacing so moldings land cleanly between fixed elements.
Materials Compared: MDF vs. Wood vs. Polyurethane
- Primed MDF ($1–$3 per linear foot, estimate). The default for painted upgrades: dimensionally stable, cuts cleanly, and paints beautifully. Downsides: dents easily, swells permanently if wet, and cannot be stained. Best in dry rooms.
- Finger-jointed pine ($2–$4, estimate). Budget real wood that takes paint or stain (prime first). Slightly less stable than MDF but more impact-resistant.
- Poplar or maple ($3–$6, estimate). Crisp edges that hold detail; a good middle ground for visible, high-touch installations, painted or stained.
- Oak and premium hardwoods ($5–$10+, estimate). Best where wood is the finish — stained installations and high-traffic areas. Overkill if you plan to paint.
- Polyurethane or PVC ($2–$5, estimate). Lightweight and moisture-proof — the right choice for bathrooms, laundry rooms, and basements.
Buy 10 to 15 percent extra to cover cutting mistakes and defective pieces.
Tools and Materials Checklist
- Miter saw (a miter box and hand saw works for small jobs, but a power saw is far faster and more accurate)
- 18-gauge brad nailer with 1¼- to 1½-inch brads (or hammer, nails, and nail set)
- Tape measure, 4-foot level, pencil, stud finder
- Construction adhesive (optional but recommended)
- Wood filler, 120- and 220-grit sandpaper
- Paintable latex caulk and caulk gun — never silicone, which paint will not stick to
- Primer and enamel trim paint (satin or semi-gloss)
- A straight spacer board cut to your gap width, for consistent spacing
- Eye protection and a dust mask — essential when cutting MDF, whose fine dust irritates lungs
How to Install Picture Frame Wall Molding: Step by Step
The classic starter project. Budget roughly 30 to 45 minutes per frame once the layout is marked, plus painting.
Plan on paper first. Measure the wall and sketch frames to scale. Keep 3 to 5 inches between frames and adjacent trim, with frame tops and bottoms level across the wall. Odd leftover slivers at one end mean re-space.
Paint the wall its final color first. Rolling a flat wall is far easier than cutting in around dozens of trim pieces. Fill holes, sand, and paint now.
Transfer the layout to the wall. Draw light pencil lines with your level, tape, and spacer board. Mark stud locations — nails into studs hold far better than nails into drywall alone.
Cut with 45-degree miters. Each frame needs four pieces with opposing 45-degree cuts. Measure to the long (outside) edge, and cut each piece for its actual position — walls bow and floors slope, so one side’s measurement rarely fits the other. Dry-fit before attaching.
Attach with adhesive and brads. Run a thin bead of adhesive on the back, press the piece to your pencil lines, and pin it — a couple of nails near the center first, then work toward corners, nudging joints tight. Angle nails slightly where no stud is present.
Fill, sand, and caulk. Fill nail holes and corner seams, sand smooth with 220-grit once dry, then run paintable latex caulk along both edges where molding meets the wall. Caulk even hairline gaps — trim moves with the seasons.
Prime and paint. Spot-prime filler and raw MDF edges, then brush the molding and roll the flat areas. Two coats of enamel give the hard, wipeable surface trim needs.
Paint Strategies That Make Molding Work Harder
- Tone-on-tone. Molding and wall the same color: subtle, sophisticated, most forgiving of imperfect joints. Best for beginners and small rooms.
- Contrasting trim. Crisp white molding against a colored wall sharpens every line — but exposes gaps, so carpentry must be tighter.
- Dark and moody. Deep colors on both wall and trim turn molding into texture. Use satin or semi-gloss on trim and matte on walls so light plays differently across them.
- Two-tone wainscoting. A chair rail dividing two colors adds formality to dining rooms without extra trim.
Always finish molding with trim-rated enamel in satin or semi-gloss — flat wall paint scuffs and cannot be wiped clean.
Cost Guide: What Wall Molding Really Costs
Rough estimates for a 12-by-14-foot room with 8-foot ceilings; actual costs vary with material, profile, and local labor rates:
Professional installation typically runs $2 to $8 per linear foot on top of materials — which is why molding is such a strong DIY candidate. Renting a miter saw and brad nailer for a weekend costs far less than the labor saved.
Common Mistakes to Avoid
- Skipping the layout sketch. Eyeballed spacing produces uneven frames no caulk can hide. Paper first, pencil second, saw last.
- Measuring once for the whole wall. Walls bow — measure and cut each piece for its actual position.
- Using silicone caulk. Paint will not stick to it. Use paintable latex caulk and check the label.
- Skipping primer on filler and raw edges. Unprimed filler and MDF end grain absorb paint unevenly, leaving dull spots.
- Nailing only into drywall. Find the studs. Adhesive plus stud-nailed brads stays tight for years.
- A profile that fights the house. Match the trim’s formality to your existing doors, windows, and baseboards.
- Overfilling small rooms. Deep, busy profiles crowd powder rooms and narrow hallways — go shallow and simple there.
Safety and When to Call a Professional
Wear eye protection when nailing and a dust mask when cutting MDF — its fine dust contains resin particles that irritate the respiratory system, and a vacuum-connected saw is even better. Keep hands clear of the miter saw blade path and unplug the saw when changing blades.
In pre-1978 homes, test painted trim for lead before sanding or disturbing it; if present, follow EPA lead-safe practices or hire a certified renovator. Bring in a licensed pro for moving outlets, opening walls, or structural changes. A trim carpenter is worth considering for whole-house installations — get two or three quotes, since pricing varies widely.
Final Thoughts
Architectural wall molding is one of the rare upgrades that delivers custom-home character at a DIY price. Start with a single accent wall in picture frame molding: plan it on paper, paint the wall first, cut carefully, and finish with caulk and enamel. Next step: pick the wall you stare at most, sketch three layout options tonight, and buy 10 percent more trim than you measured.
Frequently Asked Questions
What is the cheapest wall molding design for a beginner?
Picture frame molding: inexpensive primed MDF or pine stock, four mitered pieces per frame, and a single accent wall typically costs $60 to $150 in materials (estimate). Small gaps hide easily under caulk and paint, the most forgiving design to learn on.
Should wall molding be the same color as the wall?
For subtle texture and maximum forgiveness of imperfect joints — especially for beginners and small rooms — paint it the wall color. Contrasting white trim against a colored wall looks crisper and more traditional but exposes every gap, so the carpentry needs to be tighter.
Can you install wall molding without a nail gun?
Yes. Construction adhesive plus painter’s tape to hold pieces while it cures works for lightweight MDF and polyurethane. For heavier wood, use finishing nails, a hammer, and a nail set. A rented brad nailer is faster with smaller holes, but not required.
How high should wainscoting go on an 8-foot wall?
One-third to two-fifths of wall height — about 32 to 42 inches, with the chair rail cap on top. Going higher starts to read as full paneling and can make standard ceilings feel lower, so reserve taller installations for 9-foot-plus ceilings.
Is MDF or wood better for wall molding?
For painted finishes in dry rooms, primed MDF is usually the better value at $1–$3 per linear foot (estimate): stable, cheap, and paints beautifully. Choose real wood for stained finishes or maximum impact resistance, and PVC or polyurethane for bathrooms and basements.
Does wall molding add value to a home?
Quality trim work makes homes photograph better and feel more finished to buyers — particularly upgraded baseboards, crown molding, and dining-room wainscoting. It will not transform an appraisal alone, but as part of a well-kept interior it strengthens perceived quality at low cost relative to its visual impact.
What is the difference between wainscoting and beadboard?
Wainscoting is the general term for decorative paneling on a wall’s lower portion, usually capped with a chair rail. Beadboard is one specific wainscoting material — narrow vertical boards with a small groove between planks. Other wainscoting styles include board and batten, raised panel, flat panel, and picture frame designs.
About the Author